
A flat tyre is one of the most common problems with an electric scooter – and a job many riders put off. Small wheels, stiff tyres and a motor inside one of the hubs make it slower than on a bike. You can still do it at home with the right tools, a bit of patience and an eye on the few spots where things usually go wrong. Thinking about moving to a different kind of tyre altogether? Start with our guide to solid vs pneumatic tyres – this one is about the job itself.
How to change an electric scooter tyre: the quick answer
Switch the scooter off and take the battery out if you can. Remove the covers and free the brake, unplug the motor cable if it's the motor wheel and the cable would otherwise be stretched, then take the wheel out. Let all the air out, lever the tyre off with two tyre levers and find whatever caused the flat before you do anything else. Fit a new tube with just a little air in it, push the tyre back on without pinching the tube, pump it to the pressure in your manual – within the range on the sidewall – and test the brakes before you ride.
Patch it, new tube or new tyre?
First work out what is actually damaged. That decides how big the job gets:
- A small hole in the tube – a thorn, a sliver of glass, a drawing pin. The tube can be patched. As the tyre has to come off anyway, a lot of riders fit a fresh tube straight away and patch the old one later as a spare.
- Two little slits right next to each other – what riders call a snakebite or pinch flat. The tube got squashed against the rim edge, most often because the pressure was too low. It can usually be patched, but it will happen again if you don't keep on top of the pressure.
- A hole at the valve, or a valve that has been torn at an angle: new tube. A patch won't hold there.
- Worn tread, cracks, a bulge or a cut in the tyre: new tyre – and put a new tube in while you're at it.
- Tubeless tyre: a small hole in the tread can be plugged without taking the tyre off. A hole in the sidewall means a new tyre. More on that further down.
- A puncture-free tyre – solid, semi-solid or honeycomb – can't go flat, but the rubber wears like on any other tyre. Once the tread has gone or cracks show, it's time for a new one.
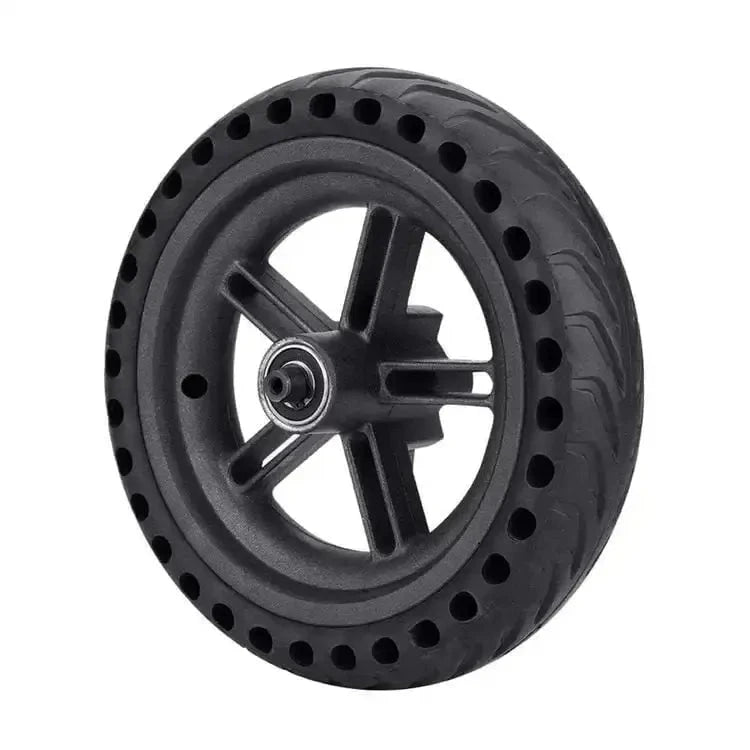
If the tyre is stuck to the rim, the motor bearing sounds rough or the rim itself is damaged, a complete wheel with the tyre already fitted can be the simpler route – for some models you'll find motor wheels and complete wheels in our tyres and wheels range.
Tools and time – what you need
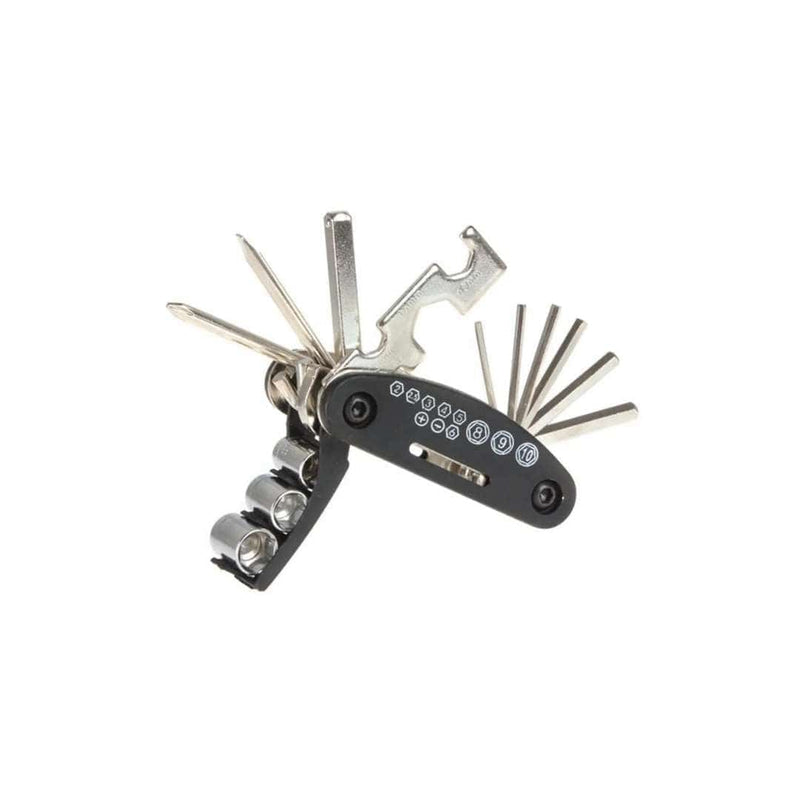
- Allen keys and a spanner or socket for the axle nuts. Sizes vary from model to model, so try them before you start. Sometimes the Allen key that came with the scooter does the job.
- Two or three tyre levers. Never a screwdriver – it scratches the rim and punctures the new tube. If your levers are metal, put a rag or a rim protector between lever and rim so the rim doesn't get marked.
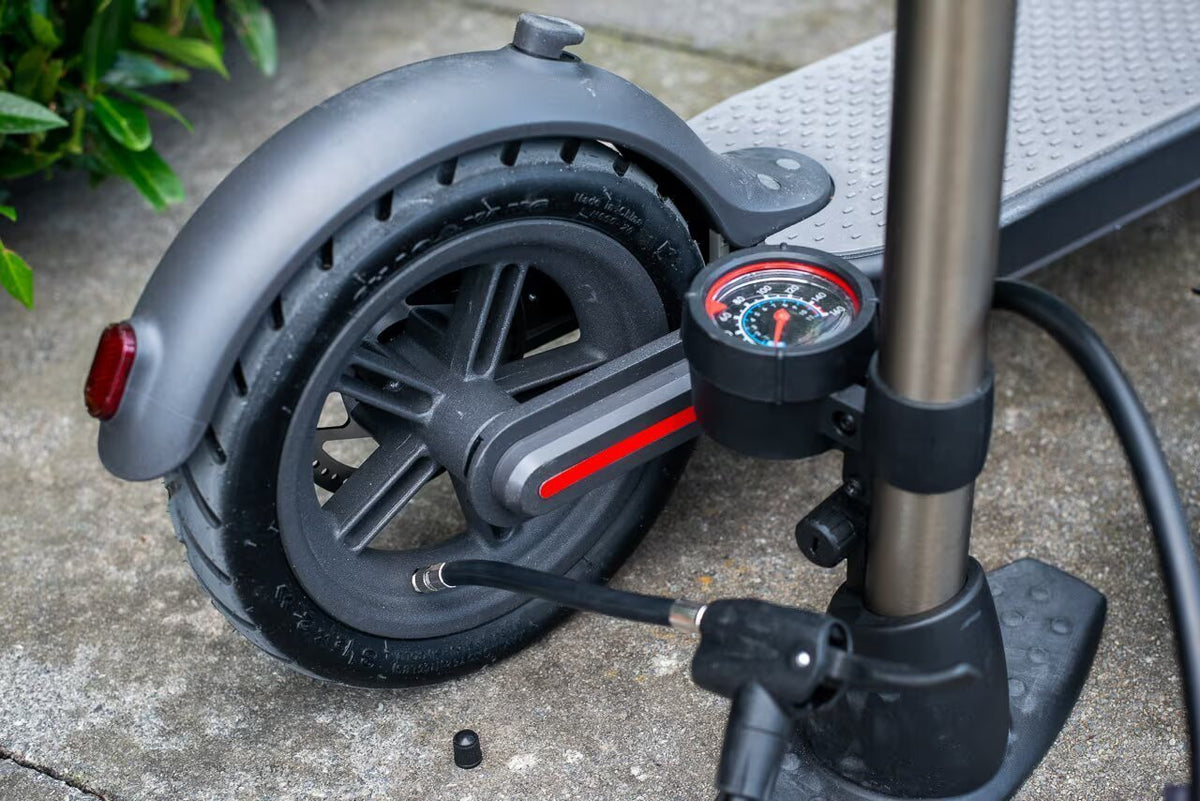
- A pump that fits the valve, ideally with a pressure gauge. On many scooters the valve sits tight against the motor or the brake disc, and a valve adapter or a tube with an angled valve makes a big difference.
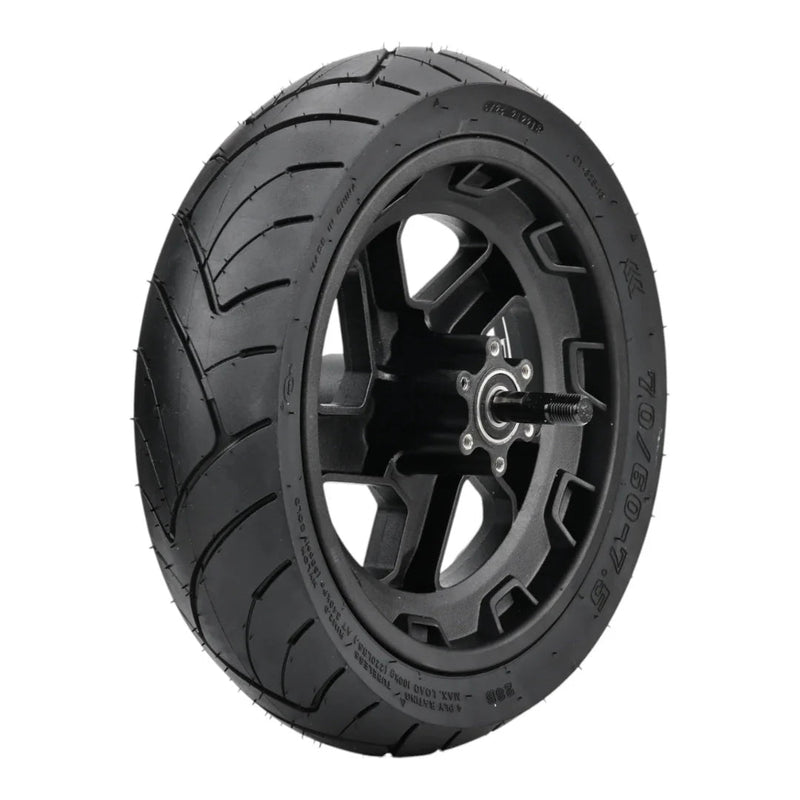
- A new tube or tyre in the same size as the old one. Read the full marking on the sidewall – 10x2.5 or 60/70-6.5, for example.
- A puncture repair kit with patches, glue and sandpaper if you're patching.
- Washing-up liquid and water in a spray bottle or bowl, a rag and a few cable ties.
- Your phone – take photos of how the cables, washers and spacers sit before you undo anything.
Most of that list – tyre levers, a pump and a valve adapter – is in our tyre and puncture tools. The spare parts finder lets you pick your scooter model and shows which tubes and tyres fit it.
Be honest with yourself about the time. The first tube change often takes an hour or more, especially on the motor wheel. With a bit of practice it's about half an hour. Solid tyres take longer – the first time, plan on it filling an afternoon.
Step by step: changing the tube and tyre
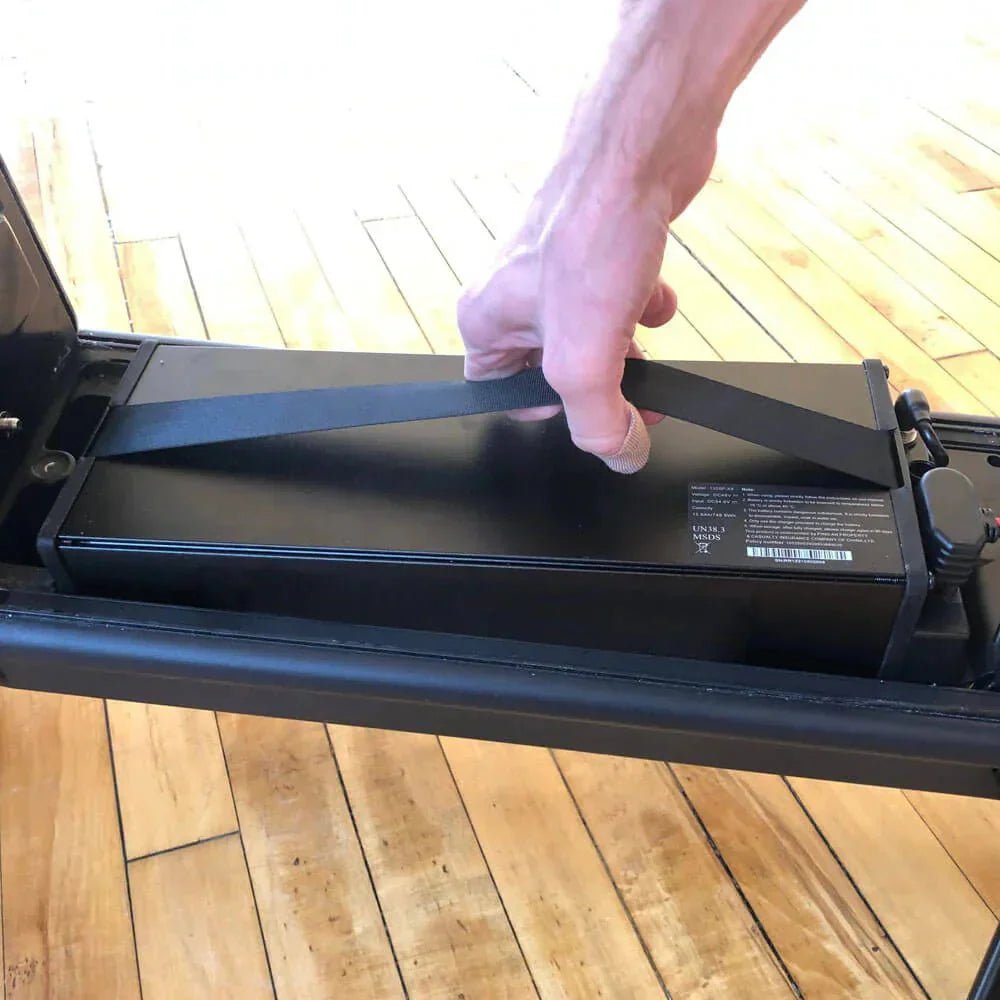
- Switch off and remove the battery if you can. Stand the scooter securely so the wheel hangs free, on a bench or a sturdy box. If you turn it upside down, put a towel under the handlebar and the display.
- Take photos of the cables, cable ties, washers and spacers around the wheel before you touch anything.
- Remove covers and reflectors. The screws for the covers around the axle are often hidden under a reflector or a sticker. Prise it off gently with something thin and plastic so it can go back on in one piece.
- Free the brake. On a disc brake, loosen the caliper if the wheel won't come out past it. On a drum brake, unhook the cable. If you have hydraulic brakes, don't squeeze the brake lever while the wheel is out – the pads close up and the disc won't go back in. Slip a piece of cardboard between the pads.
- Unplug the motor cable if you need to. If the motor wheel can't rest next to the fork without stretching the cable, disconnect the plug – see the next section.
- Loosen the axle nuts and take the wheel out. Lay the washers and spacers out in order so you know which side each one goes back on.
- Let all the air out by pressing the pin in the valve, and unscrew the valve nut if there is one.
- Get the tyre bead off. Push it towards the middle of the rim all the way round. Put two tyre levers a hand's width apart, lift the bead over the rim and work your way round. Pull the tube out. If the tyre is being replaced, take the second bead off the same way. If the rim has bolts around the hub, it's a split rim – unbolt the two halves instead of levering, but only once all the air is out.
- Find the cause. Run your fingers carefully around the inside of the tyre and look for glass, thorns and small stones in the tread. Feel for sharp edges on the rim too. If the culprit is still in there, the new tube goes flat straight away.
- Fit the new tube. Pump in just enough air for it to hold its shape, put the valve through the valve hole and lay the tube in the tyre without twists. Fitting a whole new tyre? Push one bead on first, put the tube in and do the second bead last. If there's a rotation arrow on the sidewall, it should point the way the wheel turns when you ride forwards.
- Push the tyre on. Start opposite the valve and work round both sides towards it. The last bit is always the tightest: push the part you've already fitted down into the centre channel of the rim to gain a bit of slack for the end. Before that last bit, push the valve up into the tyre slightly so the tube can't get trapped under the bead. Keep the tube dry – soapy water belongs on tubeless and solid tyres, not here. If you use a lever for the final section, make sure it doesn't nip the tube. BikeRadar's guide to changing a bike tyre uses the same tricks for tight tyres.
- Pump in two stages. First add a little air and check that the moulded line near the bottom of the sidewall sits the same distance from the rim all the way round, on both sides. If it wanders: let the air out, massage the tyre into place and pump again. Then pump to the pressure recommended in your manual – it should be within the range on the sidewall and never above the maximum. Our air pressure guide explains how often to check it. Finally, check that the valve stands straight and screw the valve nut on finger-tight.
- Refit the wheel in reverse order, with the washers and spacers as in your photo. Tighten the axle nuts to the torque given in the manual, ideally with a torque wrench, and if the manual calls for threadlocker on the bolts, use fresh. Plug the motor cable back in and hold it with new cable ties so it can't rub. Refit the brake and the covers.
- Check before you ride. Spin the wheel – it should turn freely without touching the mudguard or the brake caliper. Test the brakes on the spot, switch on and check that no error code comes up. Go for a gentle test ride and check the pressure and the axle nuts again after that first ride.
While the wheel is out, have a look at the brake pads. If they're worn down to the metal, you'll find replacements among our brake pads and discs.
The motor wheel: cable, washers and error codes
Depending on the model, the motor sits in the front or the rear wheel. On the Xiaomi M365, 1S, Pro 2 and Mi 3 it's at the front. The motor cable leaves through the axle and runs to the controller, and that's what makes the motor wheel the awkward one. The cable often needs unplugging, but if the wheel can rest beside the fork without stretching it, you can sometimes work with the plug still connected. Where the connector sits varies: sometimes it's easy to reach by the fork or under a cover near the wheel, sometimes it's inside the deck and you have to unscrew the bottom plate first. A motor wheel behaves a lot like the wheel on a hub-gear bike – the axle mustn't be able to turn, so every washer has to go back exactly where it was. BikeRadar's Brompton puncture guide makes the same point about the anti-spin washers on a hub-gear wheel.
- Never pull on the cable, and don't let the wheel hang from it. Unplug the connector, not the cable.
- Note how the cable runs and where the cable ties were, so it goes back in the same place and can't get squashed by the fork or the mudguard.
- The axle has to sit properly in the fork, with the washers on the same side as before. An axle that can twist wears through the cable where it comes out.
- The connector should click fully home, with no bent pins and no moisture.
If your Xiaomi shows an error code right after the tyre change, the connector and the cable are the first things to check. Error 18 points to the motor's Hall sensor or the motor cable – read up on error 18 on Xiaomi scooters before you start troubleshooting anything else.
Patching the inner tube
A patched tube holds up well as long as the repair is done properly. Here's how:
- Find the hole. Pump up the tube and listen or feel for escaping air. If you can't find it, pull the tube through a bowl of water and watch for bubbles. Mark the spot.
- Dry and roughen. Sand the area around the hole with the sandpaper from the kit, a little wider than the patch.
- Glue and patch. Spread a generous layer of glue over an area slightly larger than the patch and let it dry until the surface turns matt, as the kit instructions say. Then press the patch down hard, from the middle out to the edges. Self-adhesive patches don't need any glue.
- Test. Wait a few minutes, pump it up and check it in the water again. Dry the tube before it goes back into the tyre.
Don't patch if the hole is at the valve, if it's a split longer than the patch, or if the tube already carries several patches – a new tube costs less than another flat. BikeRadar's puncture repair guide runs through the same routine with photos, including how to spot a valve-base hole that can't be fixed. Puncture sealant squirted into the tube can get you home, but treat it as an emergency fix. If you get a lot of flats in city traffic, a reinforced inner tube is worth trying.
Tubeless tyres: plug or replace
Plenty of newer scooters come with tubeless tyres from the factory, and some have a gel layer inside that seals small holes by itself as the wheel turns. That doesn't make them maintenance-free – they still lose air slowly and need pumping now and then. If a tyre is going down faster than usual, this is what to do:
- Small hole in the tread – a nail or a screw: pull the object out, clean up the hole with the reamer from a tubeless plug kit, push a plug in with the tool and trim the excess, leaving a few millimetres – don't cut it flush with the tread. The tyre stays on the rim. BikeRadar's tubeless repair guide shows the plug technique step by step on a bike tyre.
- A hole in the sidewall, a cut, or a hole bigger than a plug: new tyre. It can't be repaired safely.
- Tyres with factory gel usually can't be refilled, so when the gel no longer seals, the tyre gets replaced. Liquid sealant is different: once it has dried out, you can add fresh sealant through the valve.
Fitting a new tubeless tyre works like a normal tyre change, just without the tube. Check that the valve in the rim is airtight and the valve core is tight, brush soapy water onto the beads and pump fast, so the beads pop up against the rim edge and seal. A hand pump isn't always enough – a compressor makes it easier. Never go above the maximum pressure on the sidewall to get a bead to seat: let the air out, lubricate the bead again and have another go. On a split rim, the seal between the halves has to sit correctly before you bolt them together. Afterwards, spray a little soapy water around the rim edge and the valve: bubbles mean a leak.
Fitting solid or honeycomb tyres
Solid, semi-solid and honeycomb tyres go on without a tube, but they're far stiffer than pneumatic tyres and often the toughest tyre job on a scooter. The tricks are heat, lubrication and patience:
- Warm the tyre so the rubber softens – leave it in warm (not boiling) water for a while, put it in the sun or use a hairdryer.
- Brush soapy water onto the rim edge and the inside of the tyre.
- Get one side on first and squeeze the tyre together with cable ties in a few places around it, so it's narrower and easier to work over the rim edge.
- Lever the last section over with the tyre levers, a little at a time, then snip off the cable ties.
- Check that the tyre sits evenly all the way round before the wheel goes back on.
A motor wheel and a solid tyre in one go makes this a proper job. For some models there are complete wheels with a honeycomb or solid tyre already fitted – then you only swap the wheel.
Common tyre-change mistakes
- A screwdriver instead of tyre levers. It scratches the rim and punctures the new tube.
- The cause is still in the tyre. That sliver of glass punctures the new tube on the first ride.
- Nipping the tube while fitting. Usually on the last section, where the lever presses the tube against the rim.
- Wrong size or valve. The new tube or tyre has to match the size of the old one – how to read the marking is explained in our guide to tyre types and sizes. And a straight valve won't always fit where an angled one used to sit.
- Motor connector not fully home, or a squashed cable – an error code or no drive.
- Washers on the wrong side. The wheel sits crooked and the brake or mudguard rubs.
- Not checking the brake afterwards. A caliper that has shifted, or a disc with grease on it, brakes less well.
- Too little pressure after the change. The next snakebite won't be far off.
When to let a workshop do it
Sometimes the money for a workshop is well spent:
- The connector sits inside the deck and you'd rather not open it. The gasket under the bottom plate has to go back properly, or water protection can suffer – read about IP ratings and riding in the rain.
- A split rim with a tubeless tyre, and you'd rather not deal with the seal between the halves. The tyre change itself is often easier on a split rim, as there's no levering.
- Solid tyres, if you lack the time, strength or patience.
- Hydraulic brakes that need adjusting afterwards.
- You're not sure everything is back together properly. A wheel that comes loose at speed is far worse than a flat.
Call ahead: not every bike shop works on e-scooters. Also ask whether they have a tube or tyre in your size – if not, bring your own. If you'd rather do more of the work yourself, the spare parts finder lists parts by scooter model. And if you're unsure which tube, tyre or wheel fits your scooter, ask our customer service.